 |
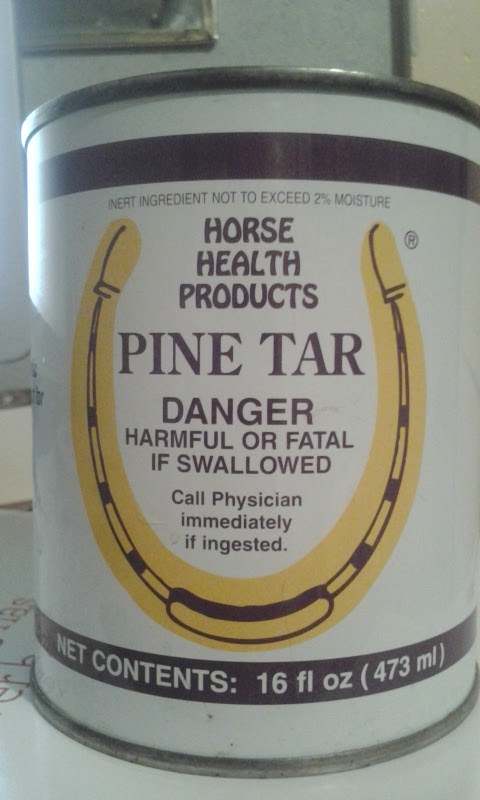
| Veterinary grade Pine tar, the other kind is for waterproofing |
This recipe doesn't adapt well to straight cold process since it seizes at 22 seconds. After the oven processing it is moldable again, at least while its still 170f or so.
Here is my recipe for pine tar soap scaled down to reasonable batches ~about 2 pounds. I have tried a couple of additives but all of them ruined the batch with the exception of essential oils for fragrance. A little cedar oil makes this smell a bit like a campfire in the woods, without as much smoke.
4 oz castor oil
2 oz coconut (76 deg)
10 oz palm
3 oz palm kernel
5.3 oz pine tar
9.2 oz water
2.9 oz lye
I mix all my oils and the pine tar heat them till they all melt and mix then let them cool to 112f
I mix the lye into the water and wait for the temperature to come back down to about 117f
Mixing the pine tar is particularly tricky I need a second pair of hands to do it right. While I am stirring with the whisk in one hand and a stick blender in the other a second person pours the lye into the oils. You need to finish adding the lye in about 10 seconds, but you want to add as slowly as possible to get the best mixing. Continue mixing until it turns to a playdough consitency, or about 12 more seconds. Your helper needs to be protected, and very aware of you. Spilling the lye water on yourself at this point is a chemical burn in under 30 seconds. Even with protective equipment you can still get burned if your not careful.
Once it is done letting me mix it I zip tie the bag closed and set it in the oven at 215f. A 2 pound batch will take about 60 minutes. Like all oven processed soaps you can look at it and see how cooked it is. The top will be translucent and covered with glycerin sweat, It will have smoothed out and taken on a non grainy texture. If your using the bag method you can pull it out and palpate for hard spots to be sure. Hard like wet clay. Hot pads required, your grabbing a 200f degree object.
Once cooked, mix thoroughly to get the glycerin back into the soap, otherwise this will be a very drying soap. Pour into your mold and allow to cool for at least 2 hours. Release from your mold. You can cut the soap at this point. And while the soap is usable it should really cure 24 hours in air, and 3-4 days in a mostly sealed container.
Another plus to this soap is its amazingly spoilage resistant. I have bars that are 5 years old and still good, not as good as in the first 2 years, but still good soap.
For my recipes I use a Reynolds oven bag. The bags keep the volatile essential oils from boiling off. In this recipe the bag isn't required and in any of my other recipes the bag only affects how much of an EO I use for scent. I use a cold process recipe with an oven process finish (cp/op) the oven takes the place of 6 weeks of curing. Its similar to the crockpot soaps. You could in fact do this recipe in a crockpot instead.
ReplyDeleteThis comment has been removed by the author.
DeleteIt may help to skip using the stick blender and just stir by hand. That will slow the trace time.
ReplyDelete